How To Use SSH Device From Anywhere: The Ultimate Guide For Remote Access
Ever wondered how you can access your SSH device from anywhere in the world? Well, buckle up, my friend, because we’re diving deep into the magical world of SSH. Whether you’re a tech enthusiast or just someone who needs to stay connected to their devices remotely, this guide is here to help. SSH, or Secure Shell, is more than just a buzzword; it’s your ticket to secure, reliable remote access. Let’s get started, shall we?
So, what exactly is SSH, and why should you care? Think of SSH as a secure tunnel that lets you connect to your devices from anywhere on the planet. It’s like having a secret handshake with your server that no one else can replicate. In today’s digital age, where working remotely is the norm, mastering SSH can be a game-changer. From troubleshooting servers to managing files, SSH has got your back.
Now, before we dive into the nitty-gritty, let’s clear one thing up. This guide isn’t just for tech wizards. We’re breaking down the process step by step so that even if you’re new to the world of SSH, you’ll walk away feeling like a pro. So, whether you’re sitting at a coffee shop in Paris or chilling on a beach in Bali, accessing your SSH device will feel like second nature. Ready to learn how to use SSH device from anywhere? Let’s go!
Why SSH Matters in Today’s Digital World
In the world of tech, SSH stands out as a rock-solid solution for secure communication. But why does it matter so much these days? With cyber threats on the rise, having a secure way to access your devices remotely is more important than ever. SSH not only encrypts your data but also ensures that only authorized users can gain access. It’s like having a digital bouncer at the door of your server.
Here’s the deal: SSH isn’t just about security. It’s also about convenience. Imagine being able to manage your server or access files from your laptop, phone, or tablet without compromising on security. That’s the power of SSH. Plus, it works across platforms, meaning you’re not tied down to one operating system. Whether you’re on Windows, macOS, or Linux, SSH has got you covered.
Understanding SSH: A Quick Overview
Before we jump into the how-to, let’s take a moment to understand what SSH really is. At its core, SSH is a network protocol that allows you to connect to a remote device securely. It uses encryption to protect your data from prying eyes, making it a favorite among IT professionals and developers alike. Here’s a quick breakdown:
- SSH encrypts all data transmitted between your device and the server.
- It uses public-key authentication to verify the identity of users and devices.
- SSH supports a variety of commands, making it versatile for different tasks.
Now, here’s the kicker: SSH isn’t just limited to servers. You can use it to manage routers, switches, and even IoT devices. It’s like a Swiss Army knife for remote access.
Tools You’ll Need to Use SSH Device from Anywhere
Alright, let’s talk tools. To use SSH device from anywhere, you’ll need a few essentials. Don’t worry; most of them are free or already built into your operating system. Here’s what you’ll need:
- An SSH client: This is the software you’ll use to connect to your SSH device. Popular options include PuTTY for Windows and the built-in Terminal app for macOS and Linux.
- An SSH server: This is the software running on your remote device that allows SSH connections. Most Linux distributions come with an SSH server pre-installed, but you might need to install one on Windows.
- A stable internet connection: While SSH is secure, a flaky connection can still cause issues. Make sure you’re on a reliable network.
Oh, and one more thing: if you’re accessing your SSH device from outside your local network, you’ll need to set up port forwarding on your router. More on that later.
Setting Up Your SSH Server
Now that you’ve got the basics down, let’s talk about setting up your SSH server. This is where the magic happens. Here’s a step-by-step guide to get you started:
Step 1: Install SSH Server
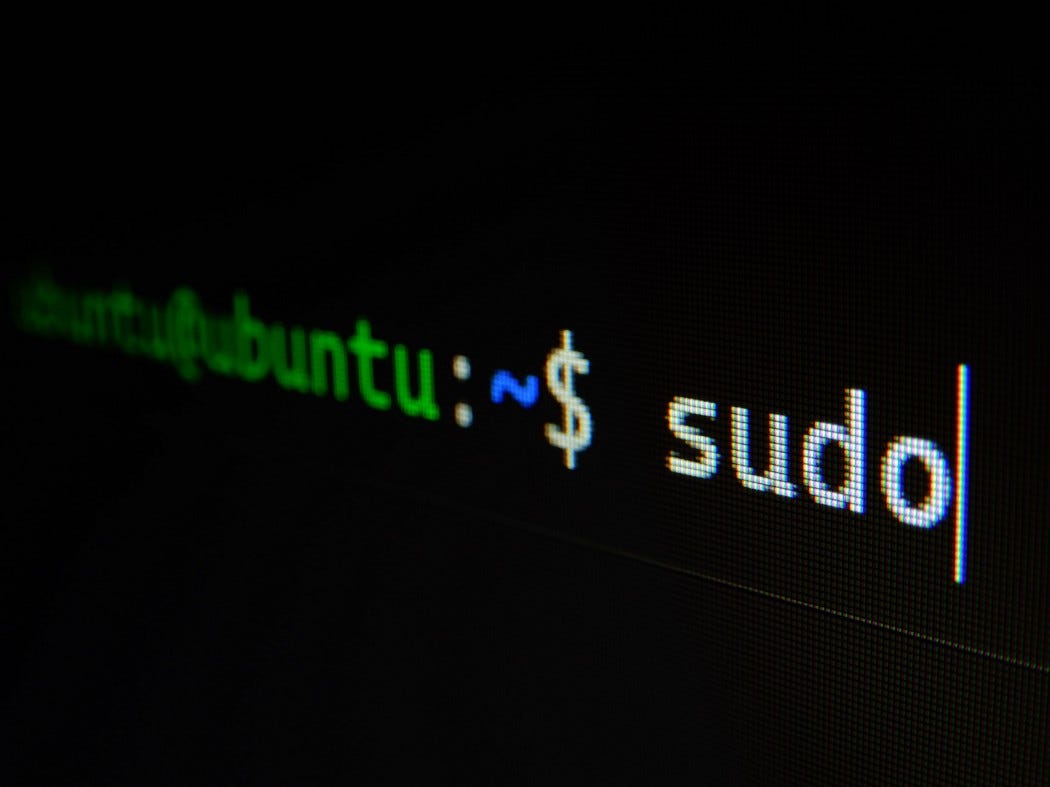
Depending on your operating system, installing an SSH server can be as simple as running a single command. For Linux users, you can use the following command:
sudo apt-get install openssh-server
For Windows users, you’ll need to enable the OpenSSH server feature through the Settings app. It’s a bit more involved, but trust me, it’s worth it.
Step 2: Configure SSH Server
Once your SSH server is installed, it’s time to configure it. The configuration file is usually located at /etc/ssh/sshd_config. Here are a few settings you might want to tweak:
- Port: Change the default port (22) to something less obvious to deter hackers.
- PasswordAuthentication: Set this to no to disable password-based logins and force key-based authentication.
- PermitRootLogin: Set this to no to prevent root logins, adding an extra layer of security.
Remember to restart the SSH service after making changes:
sudo service ssh restart
Generating SSH Keys for Secure Authentication
One of the best ways to secure your SSH connections is by using key-based authentication. Instead of relying on passwords, which can be easily guessed or brute-forced, SSH keys provide a much stronger layer of security. Here’s how you can generate SSH keys:
Step 1: Generate SSH Keys
On your local machine, run the following command:
ssh-keygen -t rsa -b 4096 -C "your_email@example.com"
This will create a public and private key pair. The public key will be uploaded to your SSH server, while the private key stays on your local machine.
Step 2: Copy Public Key to Server
Once you’ve generated your keys, it’s time to copy the public key to your server. You can use the ssh-copy-id command:
ssh-copy-id user@your_server_ip
That’s it! Your server is now set up to accept key-based authentication.
Connecting to Your SSH Device
With your SSH server up and running, it’s time to connect to your device. Here’s how you can do it:
Using Terminal (macOS/Linux)
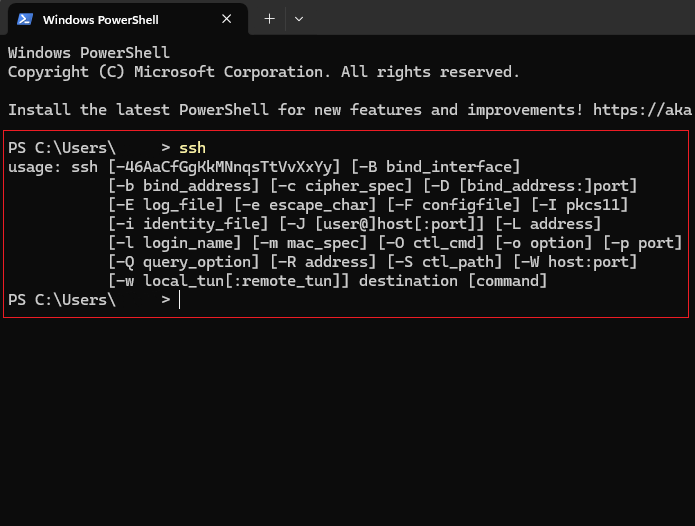
Open up your Terminal app and type the following command:
ssh user@your_server_ip
If you’ve changed the default port, you’ll need to specify it using the -p flag:
ssh -p your_port user@your_server_ip
Using PuTTY (Windows)
For Windows users, PuTTY is a popular SSH client. Here’s how you can use it:
- Download and install PuTTY.
- Open PuTTY and enter your server’s IP address in the Host Name field.
- If you’ve changed the default port, enter it in the Port field.
- Click Open and you’re good to go.
Accessing SSH Device from Outside Your Network
So far, we’ve talked about accessing your SSH device from within your local network. But what if you want to connect from anywhere in the world? That’s where port forwarding comes in. Here’s how you can set it up:
Step 1: Access Your Router’s Settings
Log in to your router’s admin panel using your browser. The exact steps will vary depending on your router model, but you can usually find the login information on the router itself or in the manual.
Step 2: Configure Port Forwarding
Once you’re in the admin panel, look for a section called Port Forwarding or Virtual Servers. Add a new rule with the following details:
- External Port: The port you want to use for SSH (e.g., 2222).
- Internal Port: The port your SSH server is listening on (e.g., 22).
- IP Address: The local IP address of your SSH server.
Save your changes and test the connection by using your public IP address instead of the local one.
Troubleshooting Common SSH Issues
Even with the best setup, things can go wrong. Here are a few common SSH issues and how to fix them:
- Connection Refused: Make sure your SSH server is running and the port is open.
- Permission Denied: Check your SSH keys and ensure the correct permissions are set on the authorized_keys file.
- Timeout: Verify your internet connection and ensure port forwarding is configured correctly.
If all else fails, consult your server logs for more information.
Best Practices for Using SSH Device from Anywhere
Now that you know how to use SSH device from anywhere, let’s talk about best practices to keep your connections secure:
- Always use key-based authentication instead of passwords.
- Change the default SSH port to something less obvious.
- Limit access to specific IP addresses if possible.
- Regularly update your SSH server and client software.
By following these best practices, you’ll ensure that your SSH connections remain secure and reliable.
Conclusion: Take Your SSH Skills to the Next Level
And there you have it, folks! A comprehensive guide on how to use SSH device from anywhere. Whether you’re a seasoned pro or just starting out, mastering SSH can open up a world of possibilities. From remote server management to file transfers, SSH has got your back.
So, what are you waiting for? Dive in and start exploring the power of SSH. And don’t forget to share this guide with your friends and colleagues. Together, we can make the world a more connected and secure place. Happy SSH-ing!
Table of Contents
- Why SSH Matters in Today’s Digital World
- Understanding SSH: A Quick Overview
- Tools You’ll Need to Use SSH Device from Anywhere
- Setting Up Your SSH Server
- Generating SSH Keys for Secure Authentication
- Connecting to Your SSH Device
- Accessing SSH Device from Outside Your Network
- Troubleshooting Common SSH Issues
- Best Practices for Using SSH Device from Anywhere
- Conclusion: Take Your SSH Skills to the Next Level

